
ASP.NET Core WEB API: Session 1
In this session, we will Learn how to create Simple basic Core WEB APIs for SAP Business one using C# Language.
What is the difference between get, post, put, patch and delete in rest api?
The primary difference between GET, POST, PUT, PATCH, and DELETE in a REST API lies in their intended purpose and how they interact with resources on a server.
- UI API: To connect with SAP business one User interface (Using Connection String)
- DI API: To connect with SAP business one Company Database interface
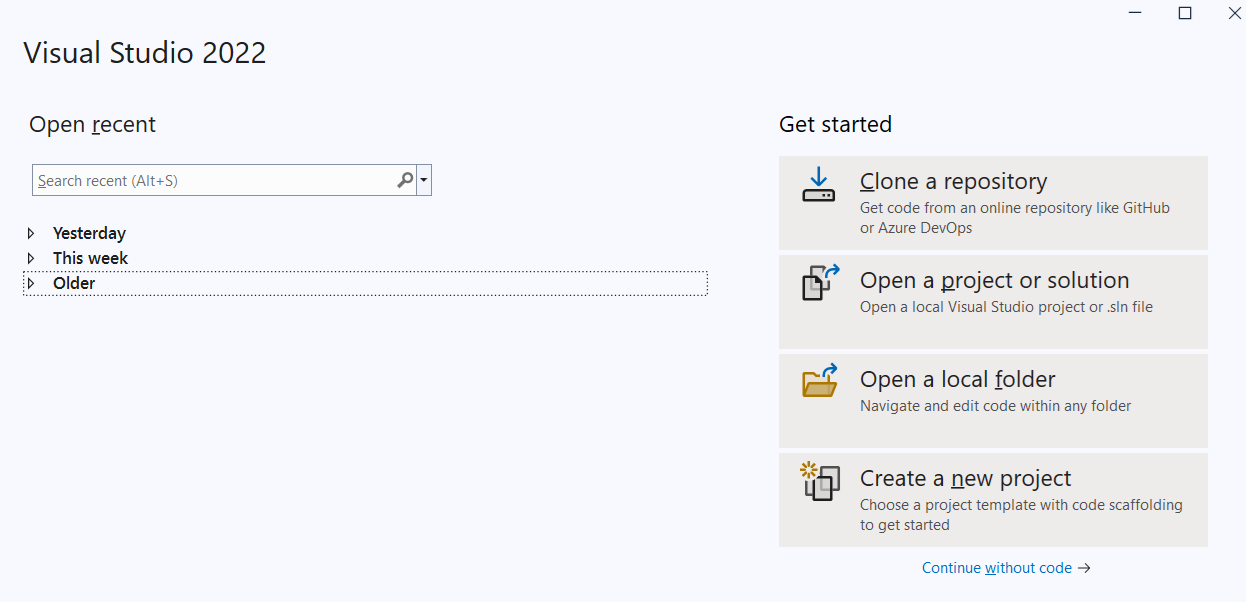
STEP 1: First of all, open Visual Studio. As you can see, I have installed Latest Version visual studio 2022, we will get this first screen.
STEP 6:
Now we will add "Connection String" in Command line argument for Database connection. RightClick on "SAPB1TestAddon" and open properties window. It will open "Properties Window". Now to do "Debug" tab. add "0030002C0030002C00530041005000420044005F00440061007400650076002C0050004C006F006D0056004900490056" string in "Command line arguments" field and save properties window.
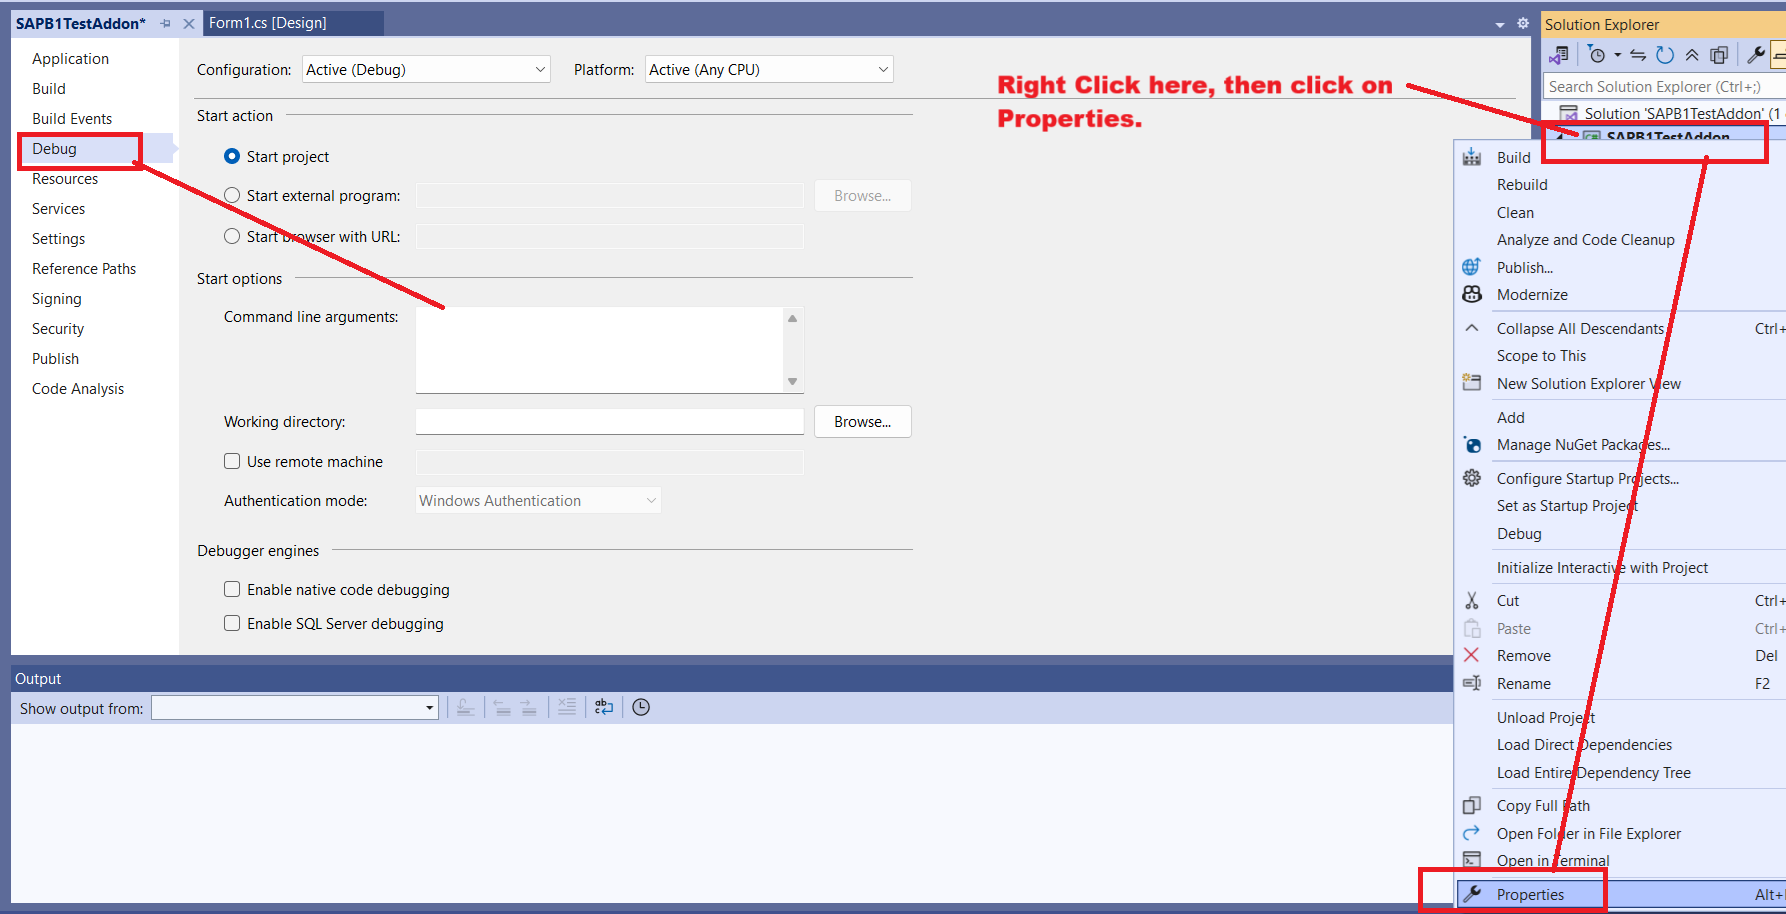
It will look like this.

STEP 7:
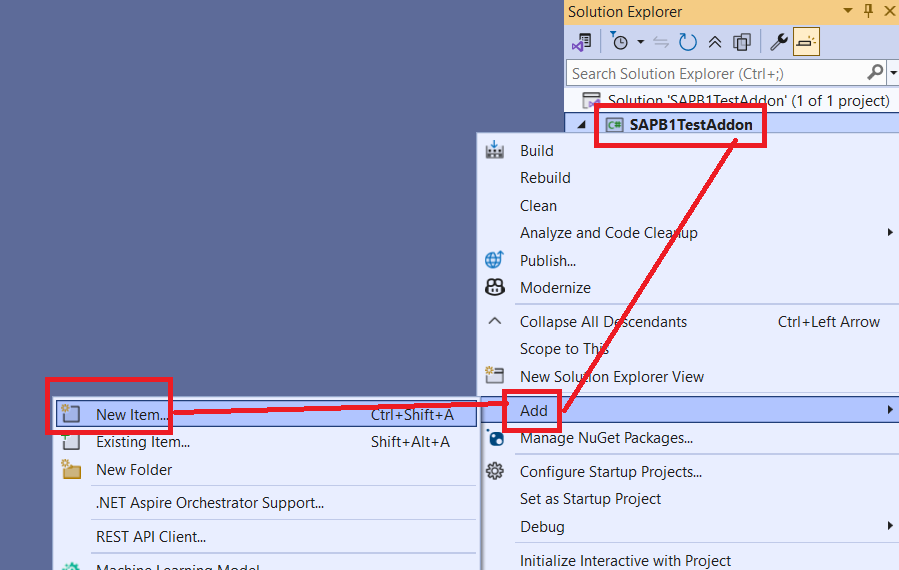
The entry point of any addon is "Program.cs" file. Now we will create new file "SBOMain.cs" and create its object in "Program.cs" file.
Right Click on "SAPB1TestAddon" then "Add" then "New Item.."
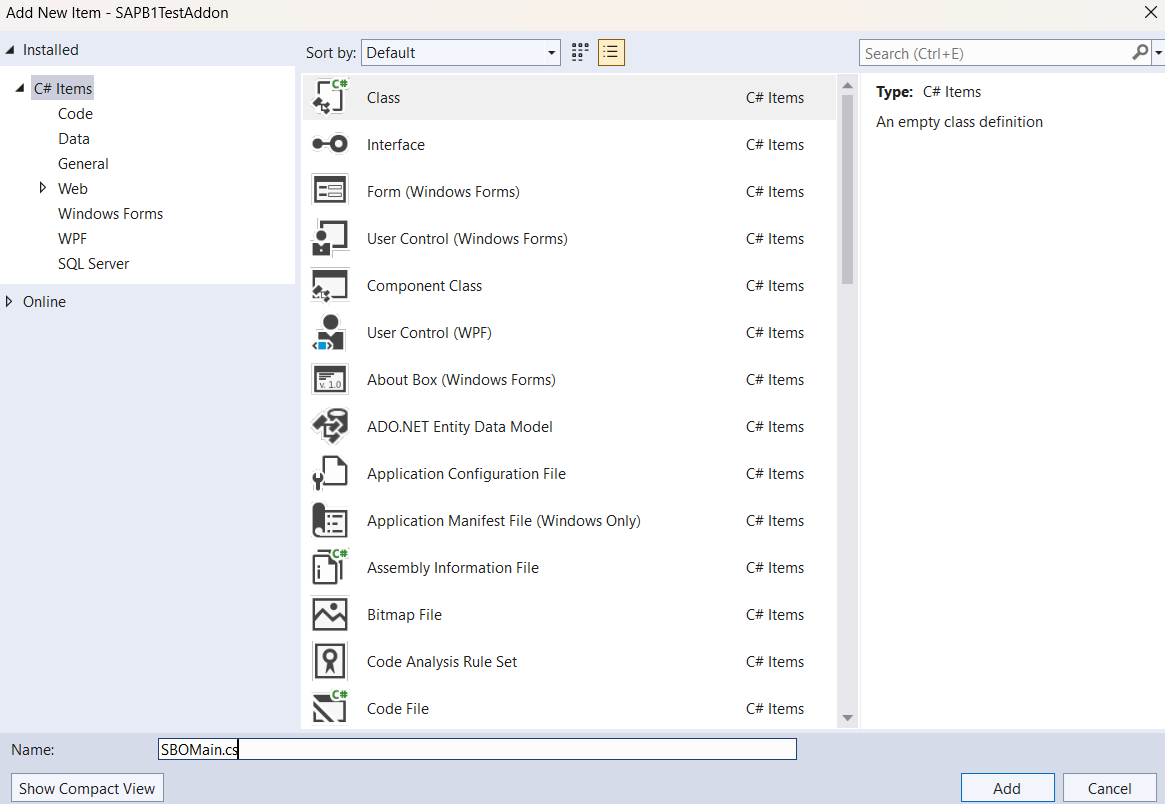
Select "Class" file, and name it with "SBOMain.cs" as bellow
you will get SBOMain.cs file as below.

Now we need some modifications in "SBOMain.cs" file.
1. Change "internal class SBOMain" to "public class SBOMain".
2. Add "SAPbouiCOM" and "SAPbobsCOM" Namespace to "public class SBOMain".
3. Declare "oCompany" and "SBO_Application" variables.
Code will look like as below.
using SAPbobsCOM;
using SAPbouiCOM;
using System;
using System.Collections.Generic;
using System.Linq;
using System.Text;
using System.Threading.Tasks;

namespace SAPB1TestAddon
{
    public class SBOMain
    {
        #region Variable Declaration
        public static SAPbouiCOM.Application SBO_Application;
        public static SAPbobsCOM.Company oCompany = null;
        #endregion
    }
}
4. Now we will create constructor in this SBOMain.cs file.Then in constructor class, we will create 2 functions SetApplication() and SetConnection(). then we will call these 2 functions in our constructor. We will also set text message to show in status bar. The entire file will look like below.
using SAPbobsCOM;
using SAPbouiCOM;
using System;
using System.Collections.Generic;
using System.Linq;
using System.Text;
using System.Threading.Tasks;

namespace SAPB1TestAddon
{
    public class SBOMain
    {
        #region Variable Declaration
        public static SAPbouiCOM.Application SBO_Application;
        public static SAPbobsCOM.Company oCompany = null;
        #endregion

        #region Constuctor
        public SBOMain()
        {
            try
            {
                SetApplication();
                SetConnection();
                SBO_Application.StatusBar.SetText("Add on Sample Connected !", SAPbouiCOM.BoMessageTime.bmt_Short, SAPbouiCOM.BoStatusBarMessageType.smt_Success);

            }
            catch (Exception)
            {
                throw;
            }
        }
        #endregion

        #region ConnectToSAP
        private void SetApplication()
        {
            SAPbouiCOM.SboGuiApi SboGuiApi = null;
            string sConnectionString = null;

            SboGuiApi = new SAPbouiCOM.SboGuiApi();
            sConnectionString = System.Convert.ToString(Environment.GetCommandLineArgs().GetValue(1));
            try
            {
                // If there's no active application the connection will fail
                SboGuiApi.Connect(sConnectionString);
            }
            catch
            {   //  If Connection failed
                System.Windows.Forms.MessageBox.Show("SAP Business One Application is not running");
                System.Environment.Exit(0);
            }
            // get an initialized application object
            SBO_Application = SboGuiApi.GetApplication(-1);
        }
        public void SetConnection()
        {
            try
            {
                string sCookie;
                string sConnectionContext;

                // First initialize the Company object
                oCompany = new SAPbobsCOM.Company();
                if (oCompany.Connected == true)
                    return;

                sCookie = oCompany.GetContextCookie();
                sConnectionContext = SBO_Application.Company.GetConnectionContext(sCookie);
                oCompany.SetSboLoginContext(sConnectionContext);
                oCompany.Connect();
            }
            catch (Exception ex)
            {
                SBO_Application.MessageBox(ex.Message.ToString(), 1, "ok", "", "");
            }
        }
        #endregion

    }
}
STEP 8:
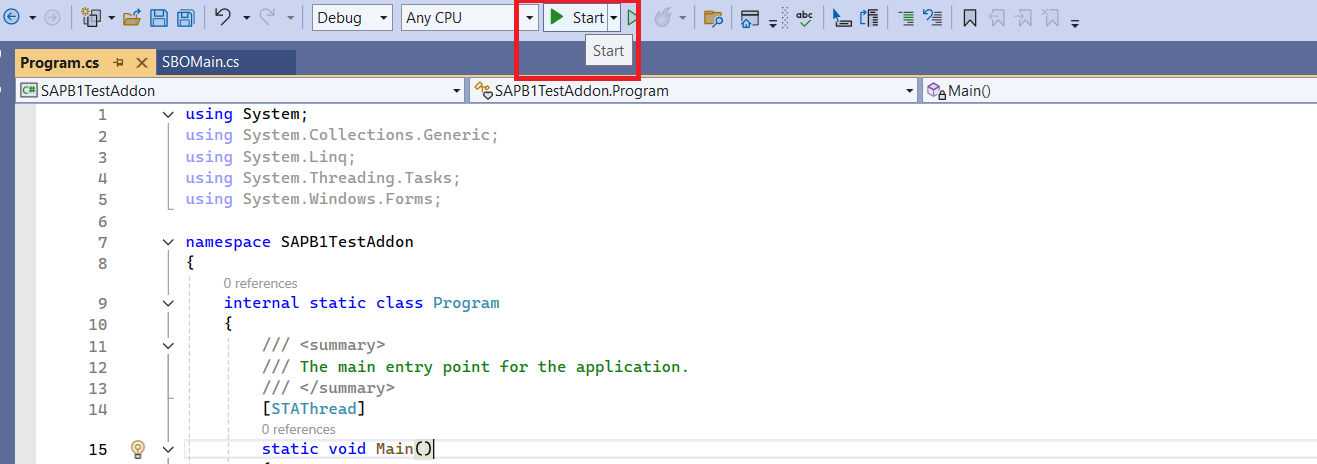
Now we will create Object of SBOMain class in Main() mehod of "Program.cs" file. We will remove default code from Main() method from "Program.cs" file. It will look as below.
using System;
using System.Collections.Generic;
using System.Linq;
using System.Threading.Tasks;
using System.Windows.Forms;

namespace SAPB1TestAddon
{
    internal static class Program
    {
        ///
        /// The main entry point for the application.
        ///
        [STAThread]
        static void Main()
        {
            SBOMain obj = new SBOMain();

            // Following line will continue Application execution after creating object
            System.Windows.Forms.Application.Run();

        }
    }
}
Now you can click on "Start" button to connect addon with our SAP.
You will see message "Addon Sample Connected!" at the status bar as below.
